

In Shaker buildings, peg rails were often hung around the entire room. Today, smaller sections of rail are frequently used, either on a single wall or the back of a door, with the rail placed at a height convenient for its intended purpose. Double or even triple rows of rails promotes efficient use of space. A low rail might hold children’s coats, and a high rail, a basket of hats and mittens. Properly hung, a peg rail will be incredibly sturdy. While nailing into a stud or door can be effective, a trim screw provides extra strength. If you’re mounting on sheetrock, a 2.5” screw works well. For a solid wood surface (such as a door), a shorter screw may suffice.
What you’ll need:
• trim screws (or nails)
• power drill/driver (or, screwdriver or hammer)
• level
• stud finder (optional)
Step 1
Choose the location where you will hang your peg rail. You will want to secure the rail to studs (if the wall is sheetrock) or wood (such as the back of a door). On the wall, locate studs that fall near the end of your length of rail. For rails six feet or longer, you’ll also want a screw close to the center.

Step 2
With a pencil, mark on the rail the location of the studs.

Step 3
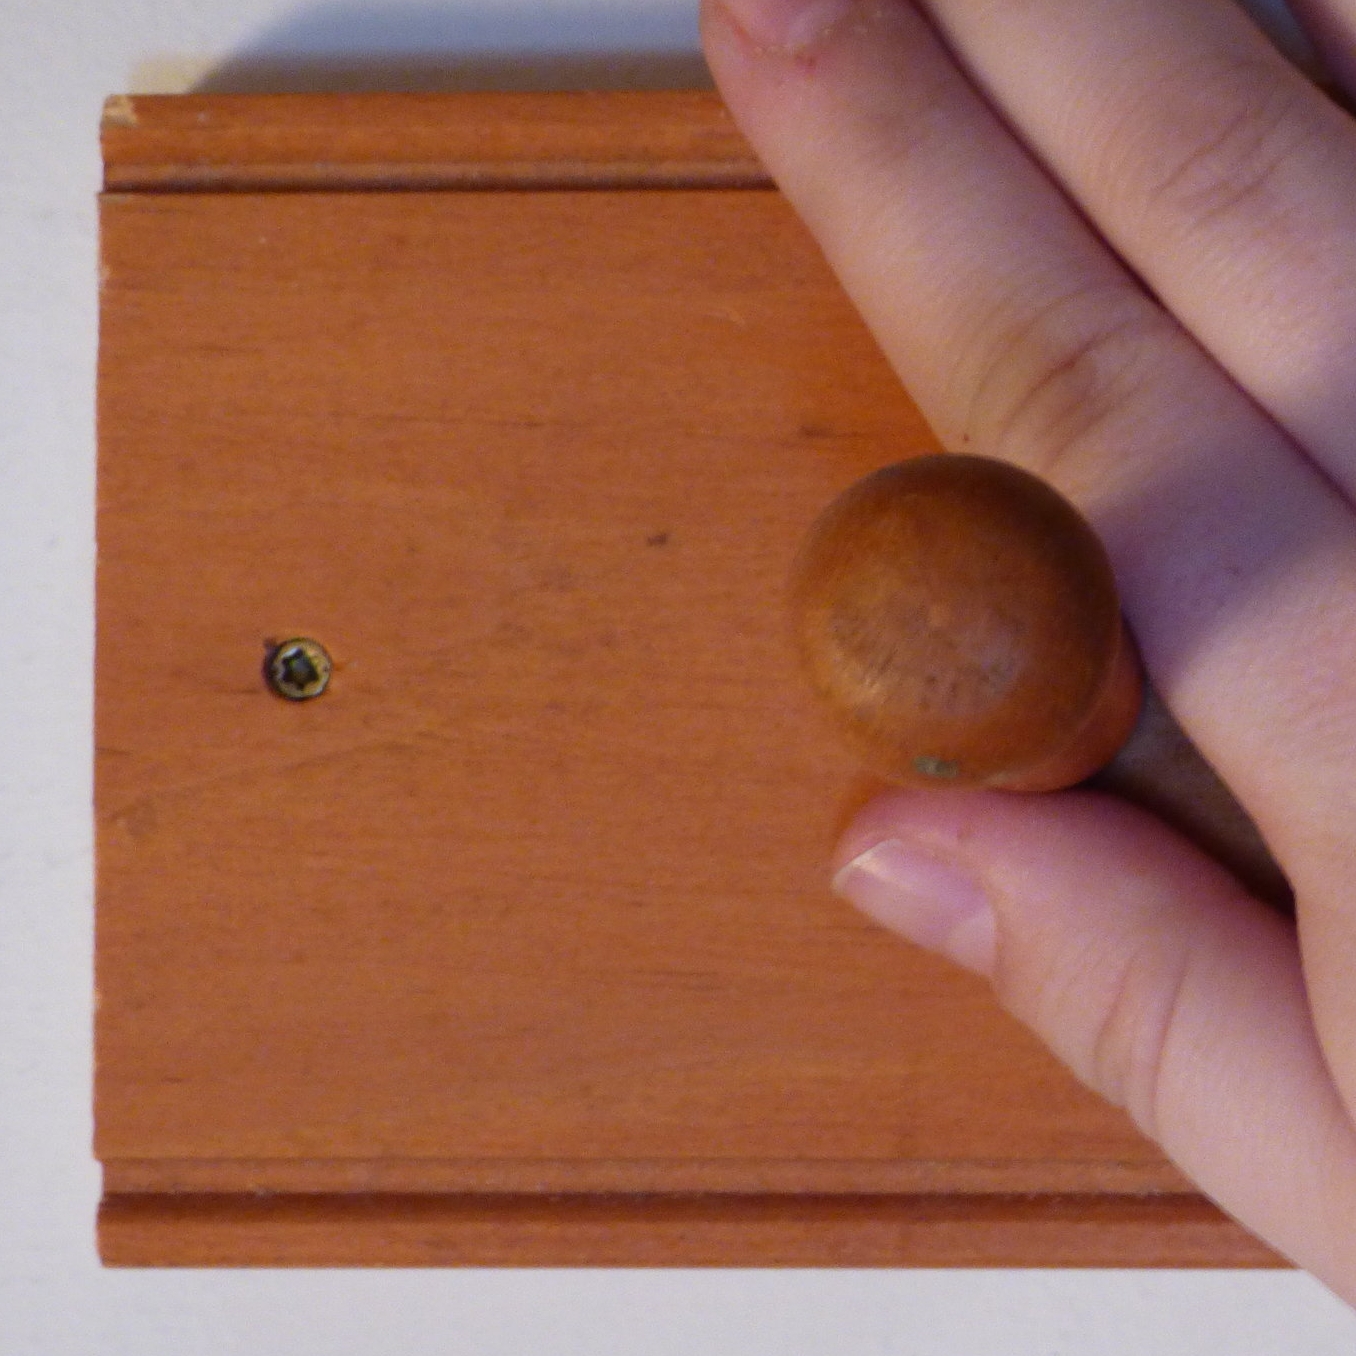
Using a drill bit smaller than your screw, drill through the rail at the precise location to line up with the center of the stud.

Step 4
Lightly mark a level line with pencil at your desired height.

Step 5
Mount one end, countersinking (driving the fastener slightly below the surface of the wood) the screw or nail. This will allow space for wood putty/plastic wood to hide the screw (or nail).
Step 6
Check the rail to ensure that it is level.

Step 7
Mount the other end (and the middle if necessary).

Step 8
Cover the holes with plastic wood (if painting or staining) or wood putty (only if staining).

Step 9
Paint or stain the covered holes.
